
How to make a Neumorphism button in Flutter.
14 April, 2023
0
0
0
Contributors

Nowadays, it is all about aesthetics and minimalistic designs. Neumorphism buttons are specially designed buttons which will give your app an aesthetic touch.
Neumorphism or Soft UI is a combination of flat design and skeuomorphism. By adding intense drop/box shadows to elements, it creates an effect that the element is able to be pushed or interacted with.
Today, we will see how we can create this UI in Flutter with the help of a container and some box shadows. So let's get started. 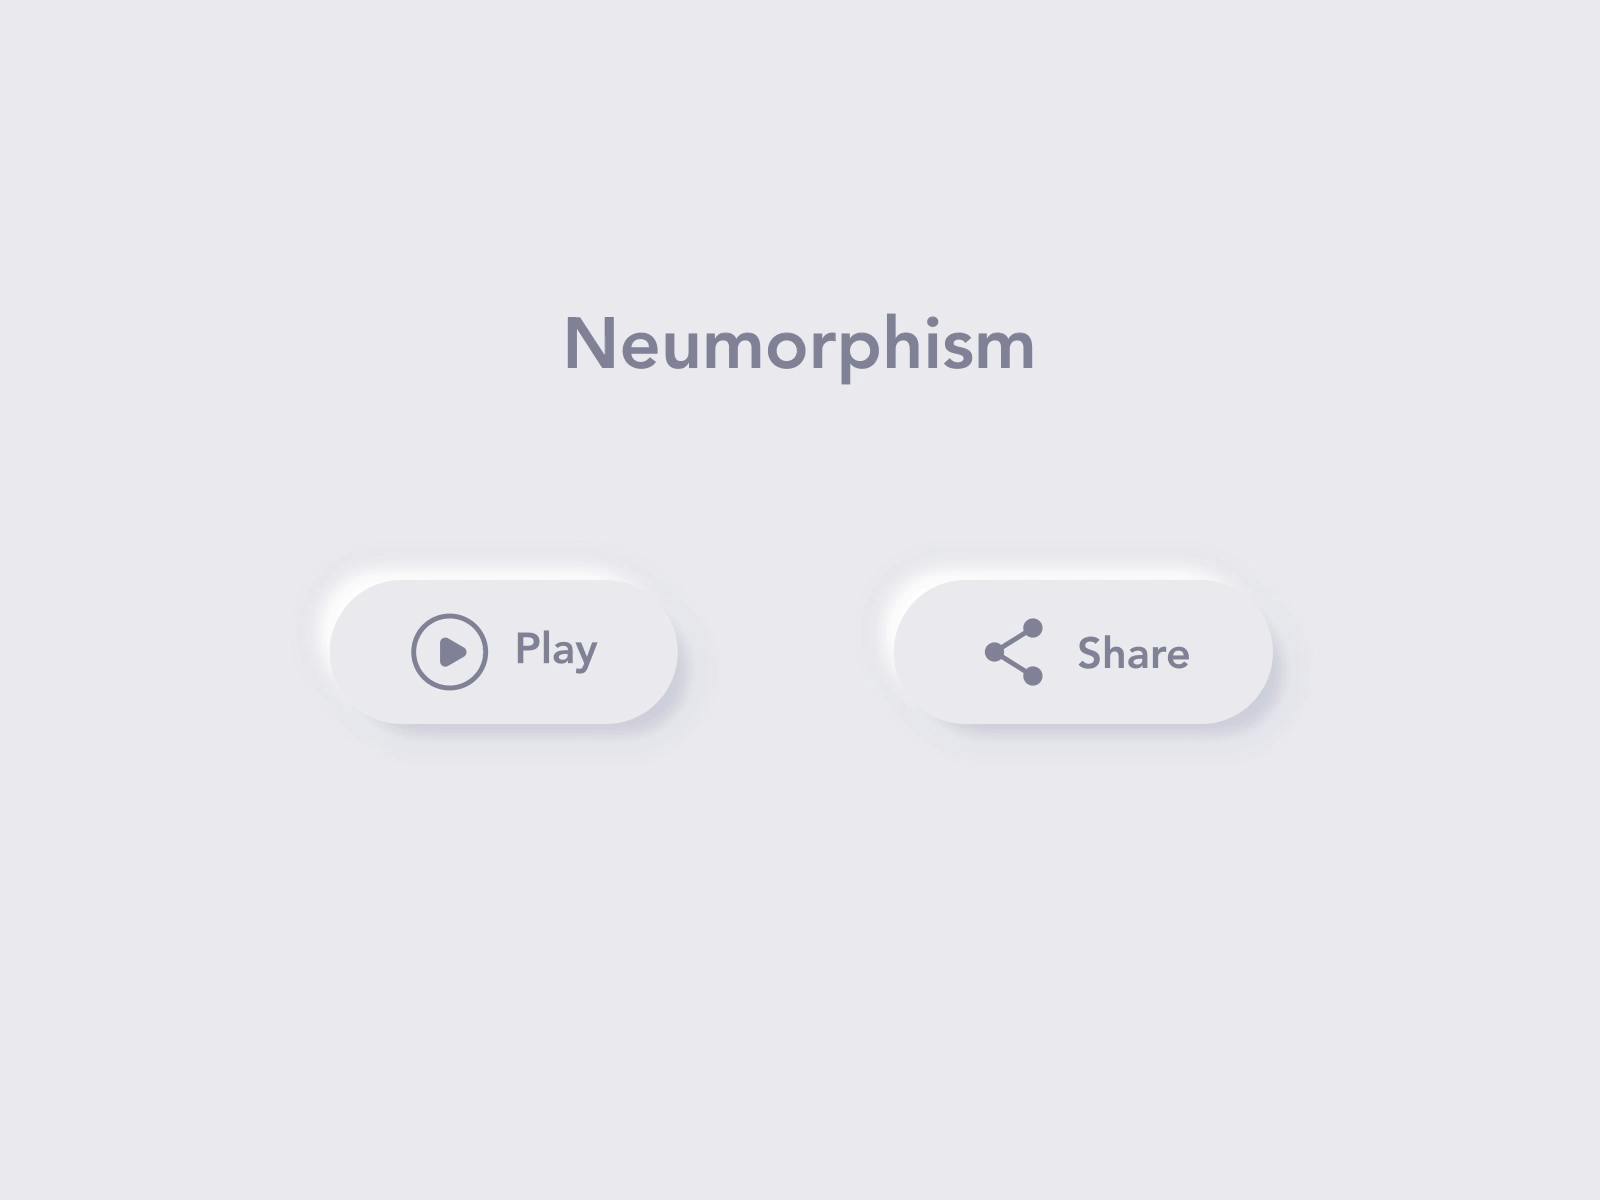
First of all, create a stateful widget with any name. Then,
- Add the mandatory widget like a scaffold. Set the background color to grey[300].
- In its body attribute, add a Center widget and make a Gesture Detector its child.
- Now wrap this Gesture Detector around an animated container.
- We use Animated Container to make the transition between states smoother.
- We need a boolean which tells us if our button is elevated or not. For that use a boolean variable and inside the ontap() function of gesture detector, change its current state.
- Your code will look something like this for now.
class NeumorphismPage extends StatefulWidget { const NeumorphismPage({Key? key}) : super(key: key); @override State<NeumorphismPage> createState() => _NeumorphismPageState();
} class _NeumorphismPageState extends State<NeumorphismPage> { bool _isElevated = true; @override Widget build(BuildContext context) { return Scaffold( backgroundColor: Colors.grey[300], body: Center( child: GestureDetector( onTap: () { setState(() { _isElevated = !_isElevated;
            });
          },
          child: AnimatedContainer(),
        ),
      ),
    );
  }
}
This is where all our work has to be done.
- First of all, set the color of the container to grey[300].
- We have to think of generating shadows whenever our isElevated is true. So one easy way of doing is to use ternary operators.
- We will need two different shadows for two corners. One will generate a shadow effect and the other will generate a blend effect.
- We will also give our button a rounded corner to make it look more pleasing to our eyes.
- We will achieve this by adding this following piece of code in the decoration attribute of the Animated Container.
 decoration: BoxDecoration( color: Colors.grey[300], borderRadius: BorderRadius.circular(50), boxShadow: _isElevated ? [ const BoxShadow( color: Colors.grey, offset: Offset(4, 4), blurRadius: 15, spreadRadius: 1, ), const BoxShadow( color: Colors.white, offset: Offset(-4, -4), blurRadius: 15, spreadRadius: 1,
      ),
    ]
        : null,
  ),
That's it. Your neumorphismic button is ready and it will look exactly like this. 
Looks pleasing on the eye doesn't it?
So this concludes our article on how to create a neumorphic button for your apps using Flutter. Here is the complete code for the same.
import 'package:flutter/material.dart'; void main() { runApp(const MyApp());
} class MyApp extends StatelessWidget { const MyApp({Key? key}) : super(key: key); Widget build(BuildContext context) { return MaterialApp( debugShowCheckedModeBanner: false, title: 'Flutter Demo', theme: ThemeData( primarySwatch: Colors.blue, ), home: const NeumorphismPage(), ); }
}
class NeumorphismPage extends StatefulWidget { const NeumorphismPage({Key? key}) : super(key: key); State<NeumorphismPage> createState() => _NeumorphismPageState();
} class _NeumorphismPageState extends State<NeumorphismPage> { bool _isElevated = true; Widget build(BuildContext context) { return Scaffold( backgroundColor: Colors.grey[300], body: Center( child: GestureDetector( onTap: () { setState(() { _isElevated = !_isElevated; }); }, child: AnimatedContainer( duration: const Duration( milliseconds: 200, ), height: 200, width: 200, decoration: BoxDecoration( color: Colors.grey[300], borderRadius: BorderRadius.circular(50), boxShadow: _isElevated ? [ const BoxShadow( color: Colors.grey, offset: Offset(4, 4), blurRadius: 15, spreadRadius: 1, ), const BoxShadow( color: Colors.white, offset: Offset(-4, -4), blurRadius: 15, spreadRadius: 1, ), ] : null, ),
), ), ), );
  }
}
Press the subscribe button and never miss such articles on Flutter, Python, and DSA.