
Mastering Clerk authentication with the Next.js standard setup
I will show you how to use Clerk, customizing the sign-in, sign-up pages, adding social logins with GitHub and Facebook, keeping the users on your sit
Draft
1 November, 2021
Contributors

In this tutorial, we will look at Clerk from top to bottom. I will show you how to use Clerk, customizing the sign-in, sign-up pages, adding social logins with GitHub and Facebook, keeping the users on your site, multi-session, and many more. So let’s jump right into it.
What is Clerk ?
Clerk is one of the best ways to add authentication to a Next.js or a react application. It gives us things that are a pain to handle on our own like user management and multiple sessions.
Why use Clerk ?
•
Easy to work with
•
Customizable
•
2-step verification
•
New device notifications
•
Single sign-on
•
Passwordless sign-in
•
Multi-sessions
Creating a new Next.js app
Installing Clerk
Cleanup
I will delete everything after the Head starting from the main till the footer.
Setting up a new application in Clerk
•
Go to Clerk
•
Sign up/Sign in
•
Go to the dashboard
•
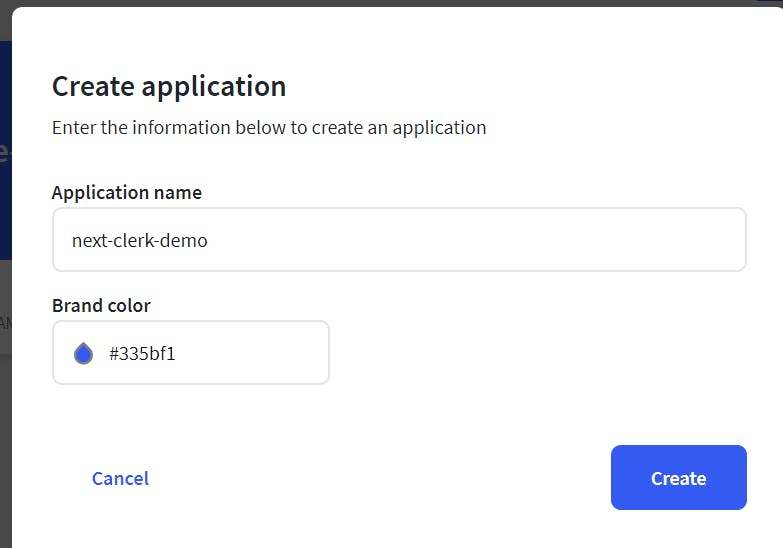
Create a new application

•
Give a name to your app and a brand color (optional)
•
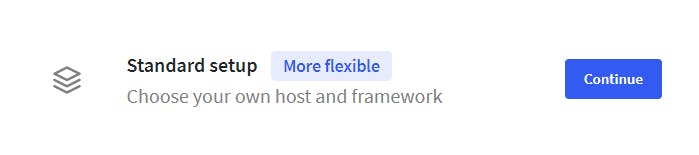
After the app is created click on development
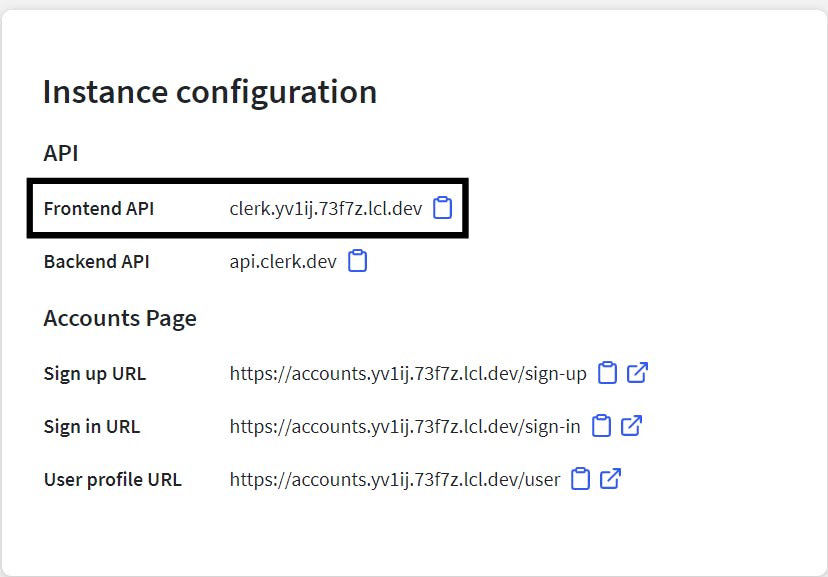
•
Copy the frontend API
Getting into the code
We will create a new file .env.local at the root of our project.
We will create a new environment variable called
NEXT_PUBLIC_CLERK_FRONTEND_API and add the frontend API like thisConfiguring _app.js
We can configure Clerk in two ways based on the requirement-
•
Allow the user to access the other pages
•
The user can access the pages only after signing in
In most of the websites, the sign-in button and the avatar of the user are in the header, so we will add those things in a separate component called header.
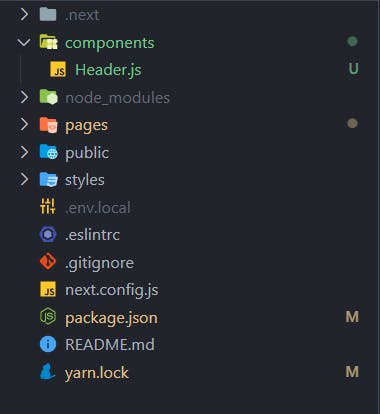
To create a header, we will create a folder named componentsand then the header.js file in it.
Finally, we will create a CSS file for our header in the styles folder.
I have created a simple header with almost no styling.
and the one line style for the header
Now we can see a sign in button the top left corner of the screen.
After clicking it we will see a 404 page.
Creating the sign in, sign up, and the user page
Inside the
pages directory we will create 3 folders namedInside all the folders we will create a file [[…index]].js
Here is the code for all the files
sign-in/ [[…index]].js
sign-up/ [[…index]].js
user/ [[…index]].js
We have got these functionalities by doing just this
•
Sign in
•
Sign up
•
Sign out
•
Manage account
Keeping the user on your website
When you click on manage account are redirected to a URL like this accounts.yv1ij.73f7z.lcl.dev/user. You would want your user to stay on your website like this Your_wesbite/user instead.
Let’s see how to do that.
•
Go to your application in Clerk
•
click on development
•
then the settings tab in the sidebar
•
then choose URL and redirects

Now we are going to use custom URLs. So here are all the URLs that I changed
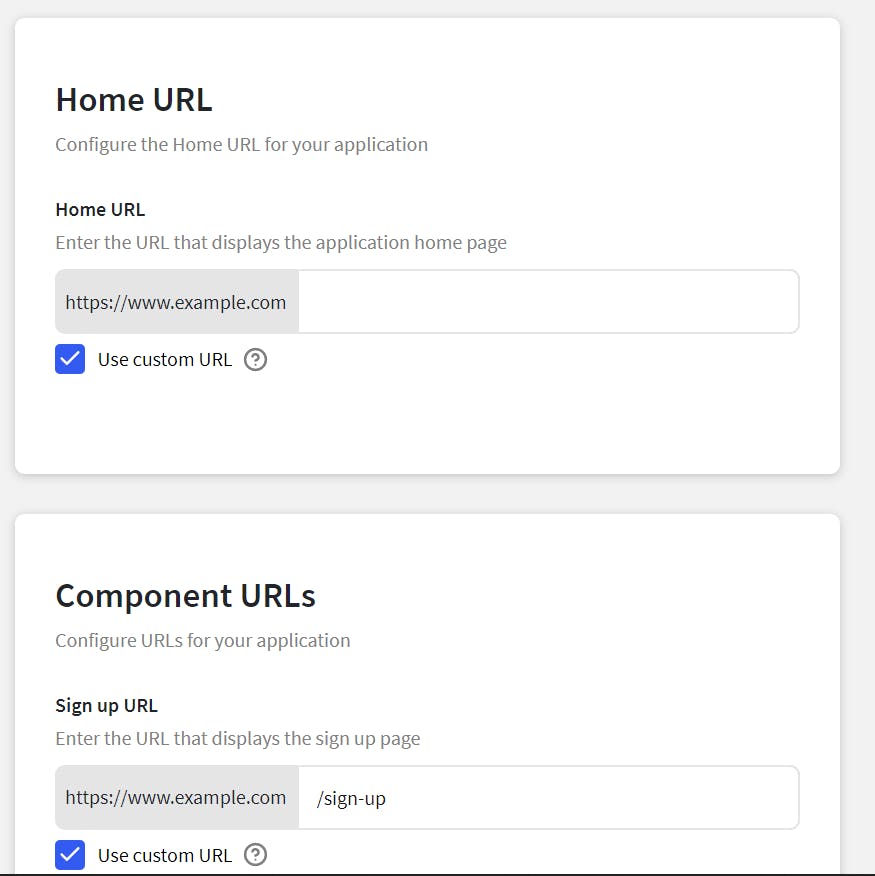
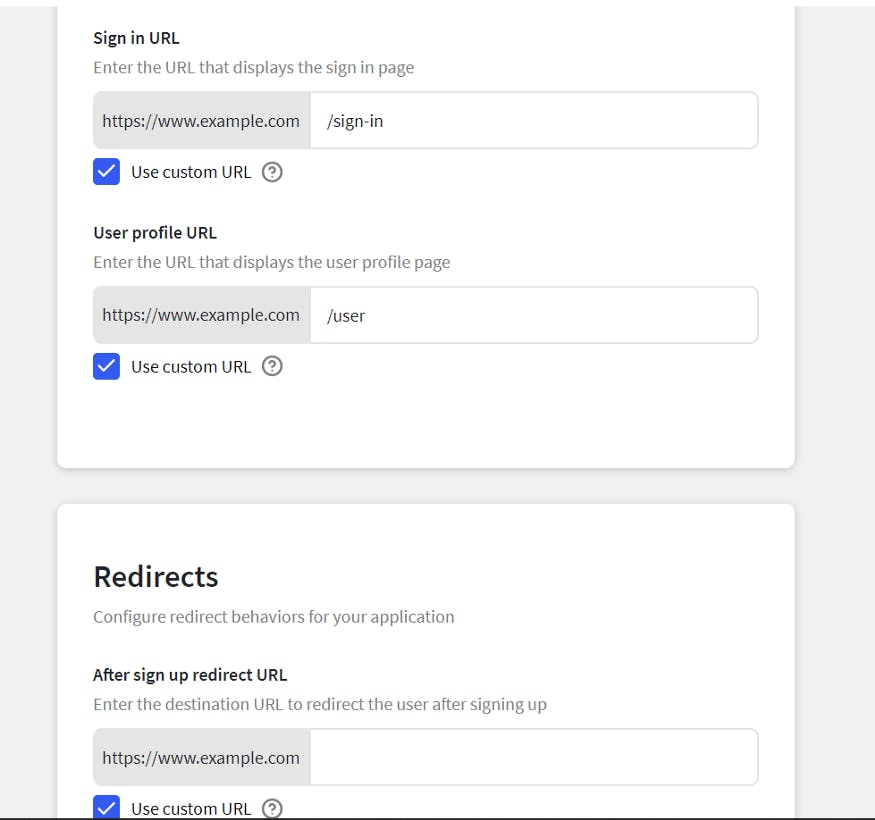
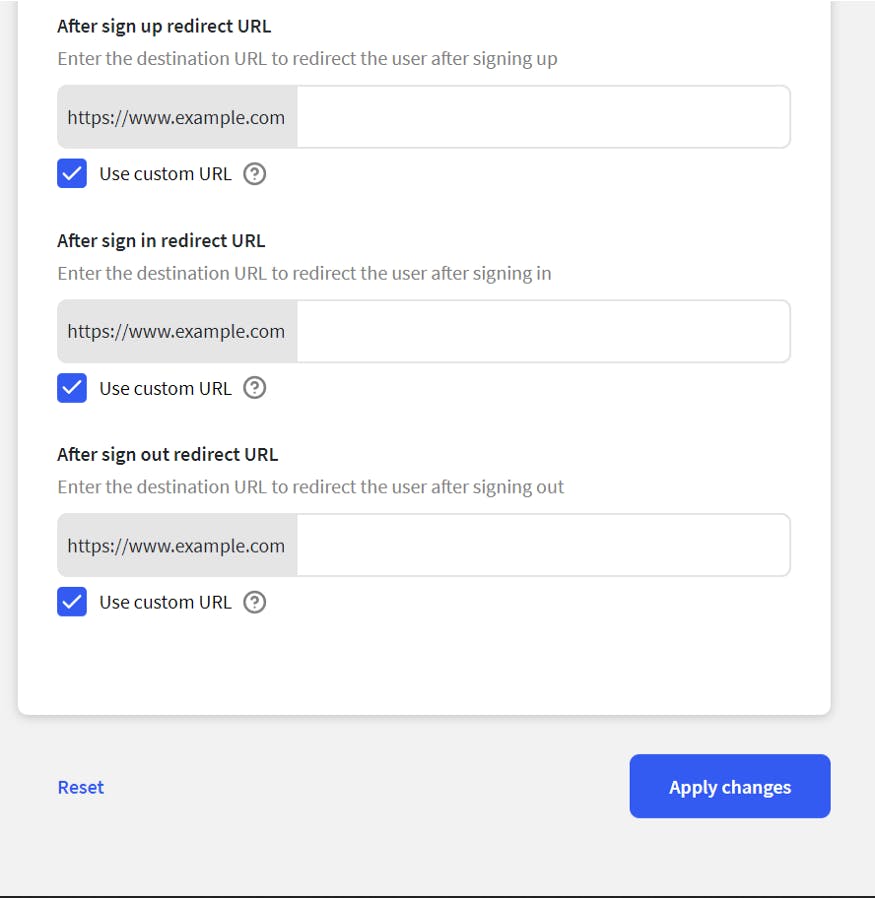
After you have made these changes click on Apply Changes.
Voila! Now when you sign in, sign up, click on manage account you will stay on your website.
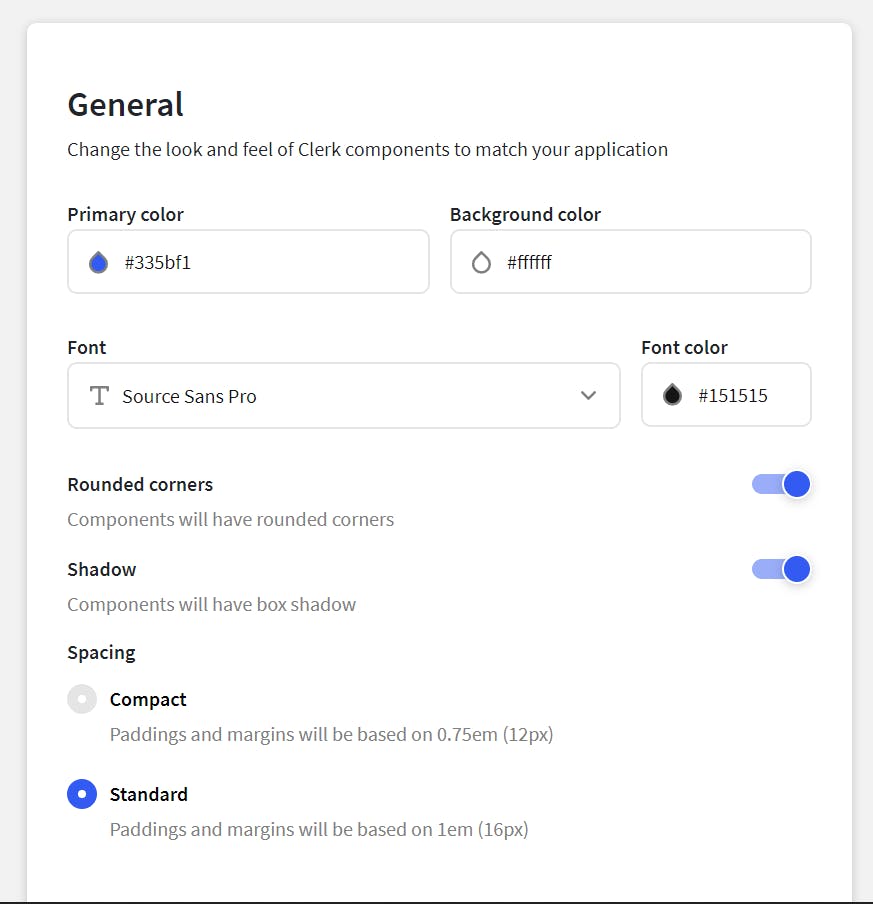
Customization
If you now go to the theme there are many things that you can customize like the primary color, secondary color, background color, shadow, font, and many more.

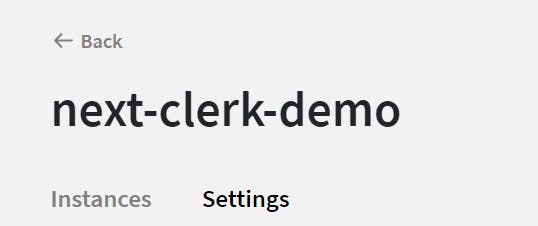
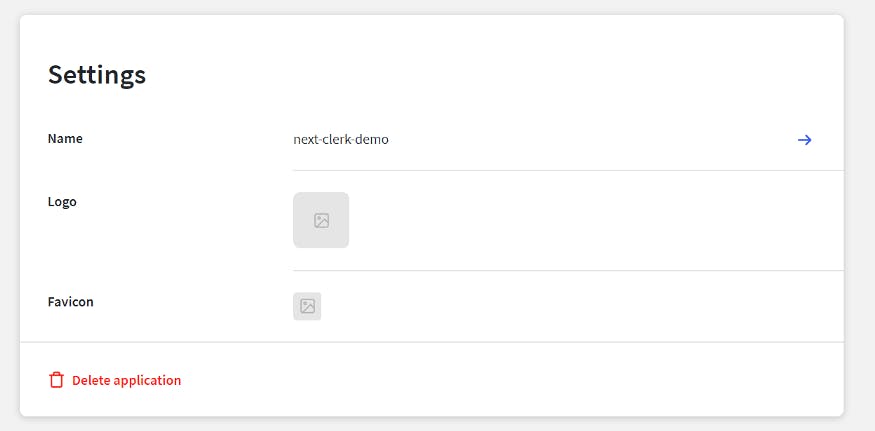
Adding logo and favicon
Go back to your app and click on the settings
Here you can add a logo and a favicon to be displayed in the sign-in process.
Adding Social logins and multiple sessions
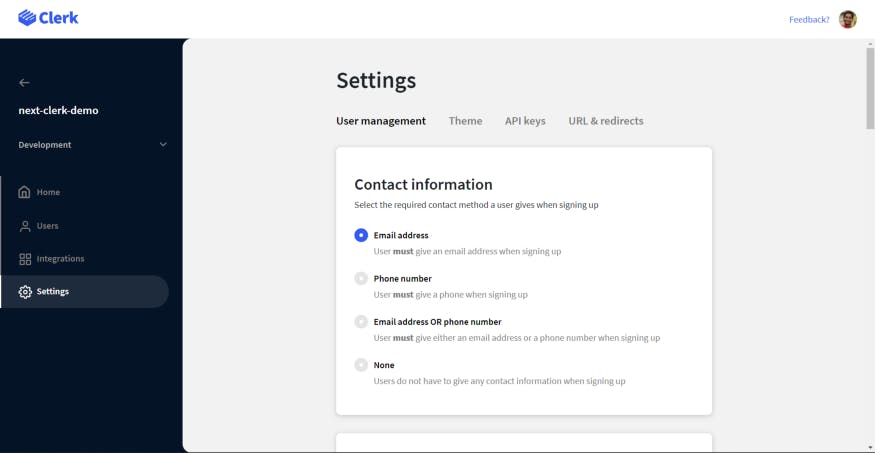
Go to the User management tab in settings and you can see many more things to add to this authentication flow.
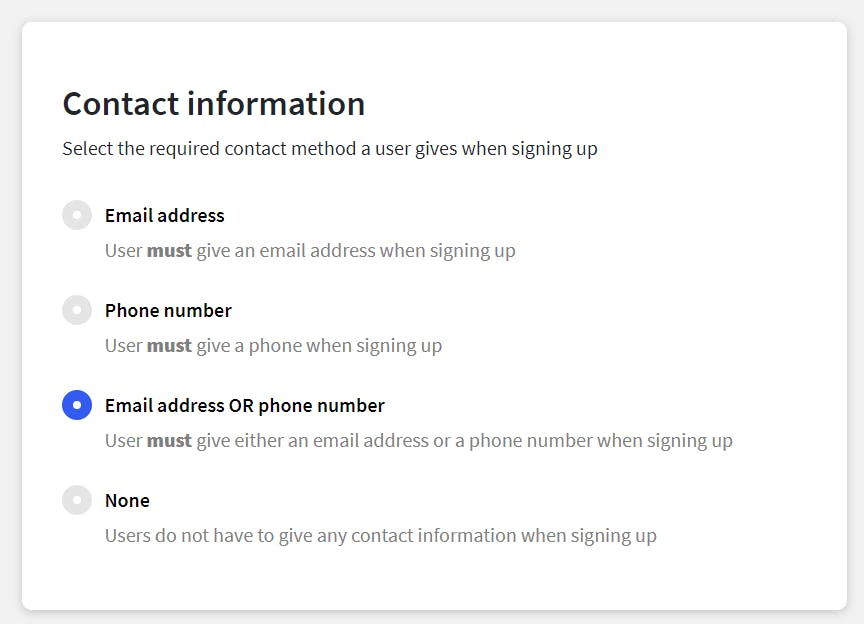
Contact Information
Here you can choose what you want to get from the user at the time of sign up like email, phone number.
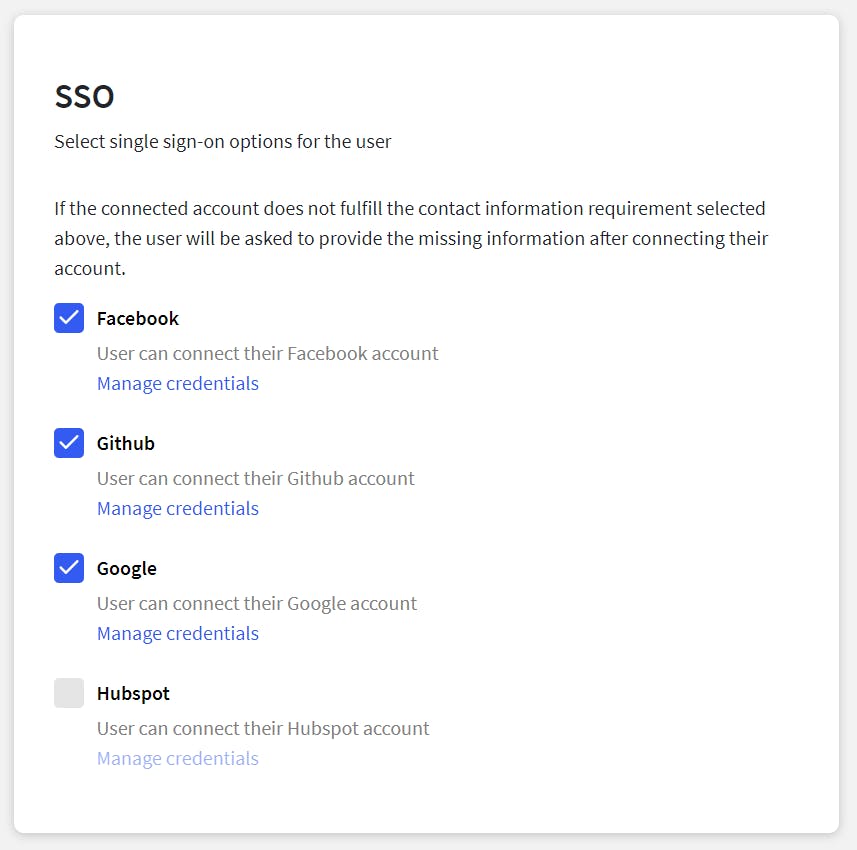
SSO
Inside SSO you can enable sign in with Facebook and Github. By default, it uses a Shared development profile but you can create your own application and add your credentials instead.
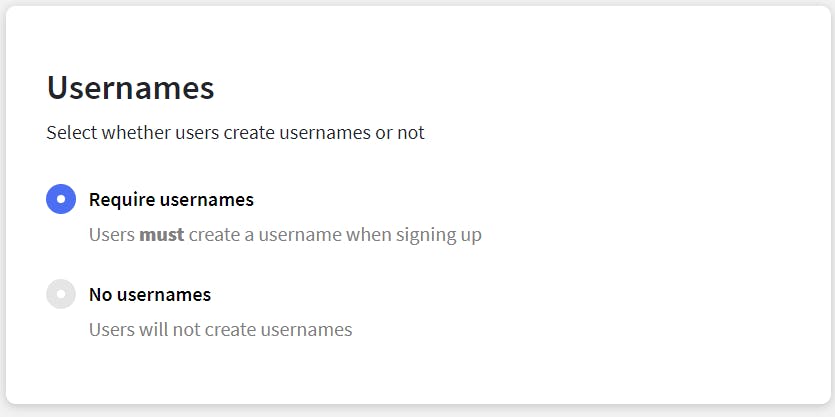
Usernames
In this section instead of their real names, the users can have a username as well. You can enable or disable the username.
Multi sessions
If you want the user to login into multiple accounts at once and switch between them, you can enable multi sessions like this.
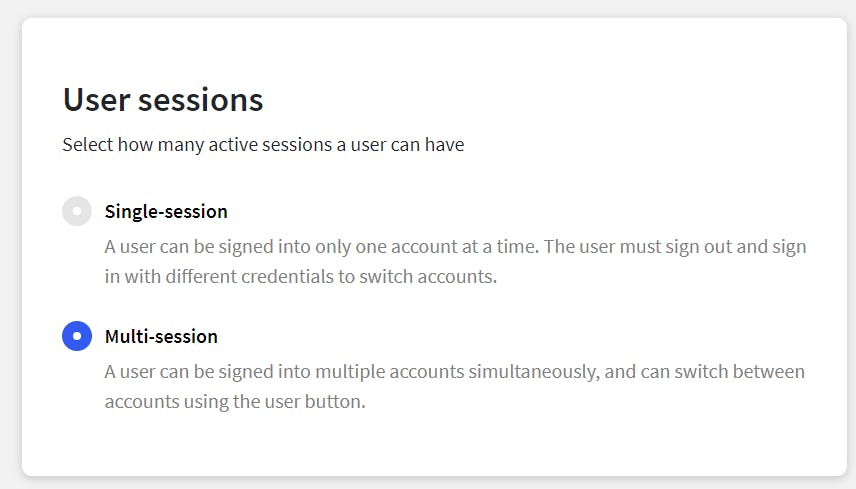
Now you can add multiple accounts to your app.
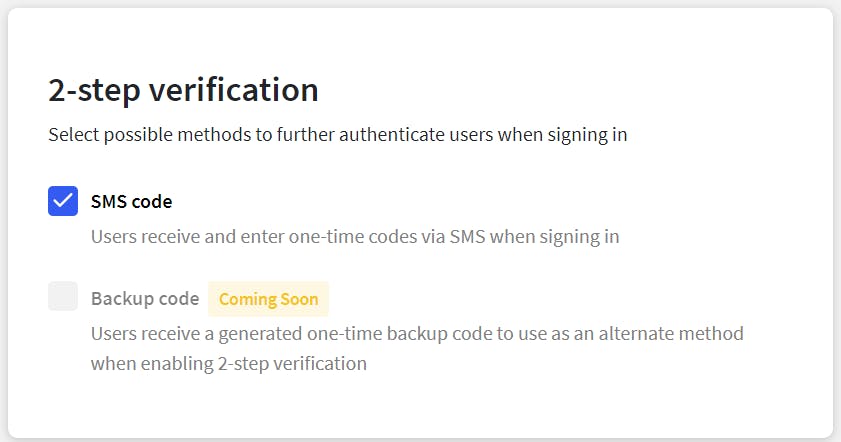
2 Step Verification
By default 2 Step Authentication is enabled where you will get an OTP via your email or phone number. The backup code is also coming soon, so stay tuned.
P.S. You need to apply the changes to see it in your app.
Deployment
I will create a new GitHub repository and push the code there. If you don’t about git and GitHub. Check my Git and Github Crash Course.
After that go to Vercel
•
Sign up with your GitHub
•
Click on create a new project
•
Import the repository that you created
•
Click deploy
Your site will now be deployed but the authentication won’t work.
Adding environment variables.
•
After the site is deployed go to the dashboard of the current app click on settings and then Environment Variables.
•
We need to add NEXT_PUBLIC_CLERK_FRONTEND_API in the variable like this.

•
Click on the latest version and press redeploy.
Congratulations 🥳! You have successfully added Clerk authentication to your Next.js app ✌
Useful links -